


With plaster being all around us, this groundbreaking mixture of cement, gypsum, sand, and water is massively used for building, construction, art, and even medicine. As there are numerous different types of plaster each of them with a different set of applications and mixing techniques, being able to recognize which type you need for your home project and learning how to plaster a wall can be considered an advanced do-it-yourself project.
Still, even if most people prefer to leave it to the experts if you are handy when it comes to reasonable DIY home tasks and understand how to work in a slow, systematic and neat fashion, you are at the right place. This step by step guide to plastering will take you through everything you need to know, and hopefully, the finished plastered wall will look as if an expert completed it. First things first, you need to obtain adequate tools and materials for the job.
Needed Tools And Materials
It’s always a good idea to be prepared for wall plastering well in advance, so you won’t have to hunt down tools and leave the job halfway through to stock up. The tools and materials you will need to complete the job include a trowel and bucket trowel, plasterers float, corner trowel, hawk board, two buckets, mixing stick or a paddle, adequate plaster, PVA, dustsheets, clean water, sandpaper, stepladder or stilts, and a dust mask.
Step 1: Preparation
Before you begin working on the wall or walls, make sure to lay down a dustsheet to protect your floors and gather any potential debris or spillage of plaster. Ensure that the wall you want to plaster is dust-free and get rid of the debris, as this is particularly important if you are plastering an older and worn-out wall. Cover any holes and cracks you may find in the wall using screen tape. In case you are plastering over newly erected plasterboards, use the screen tape to mask all the joints in between the boards.
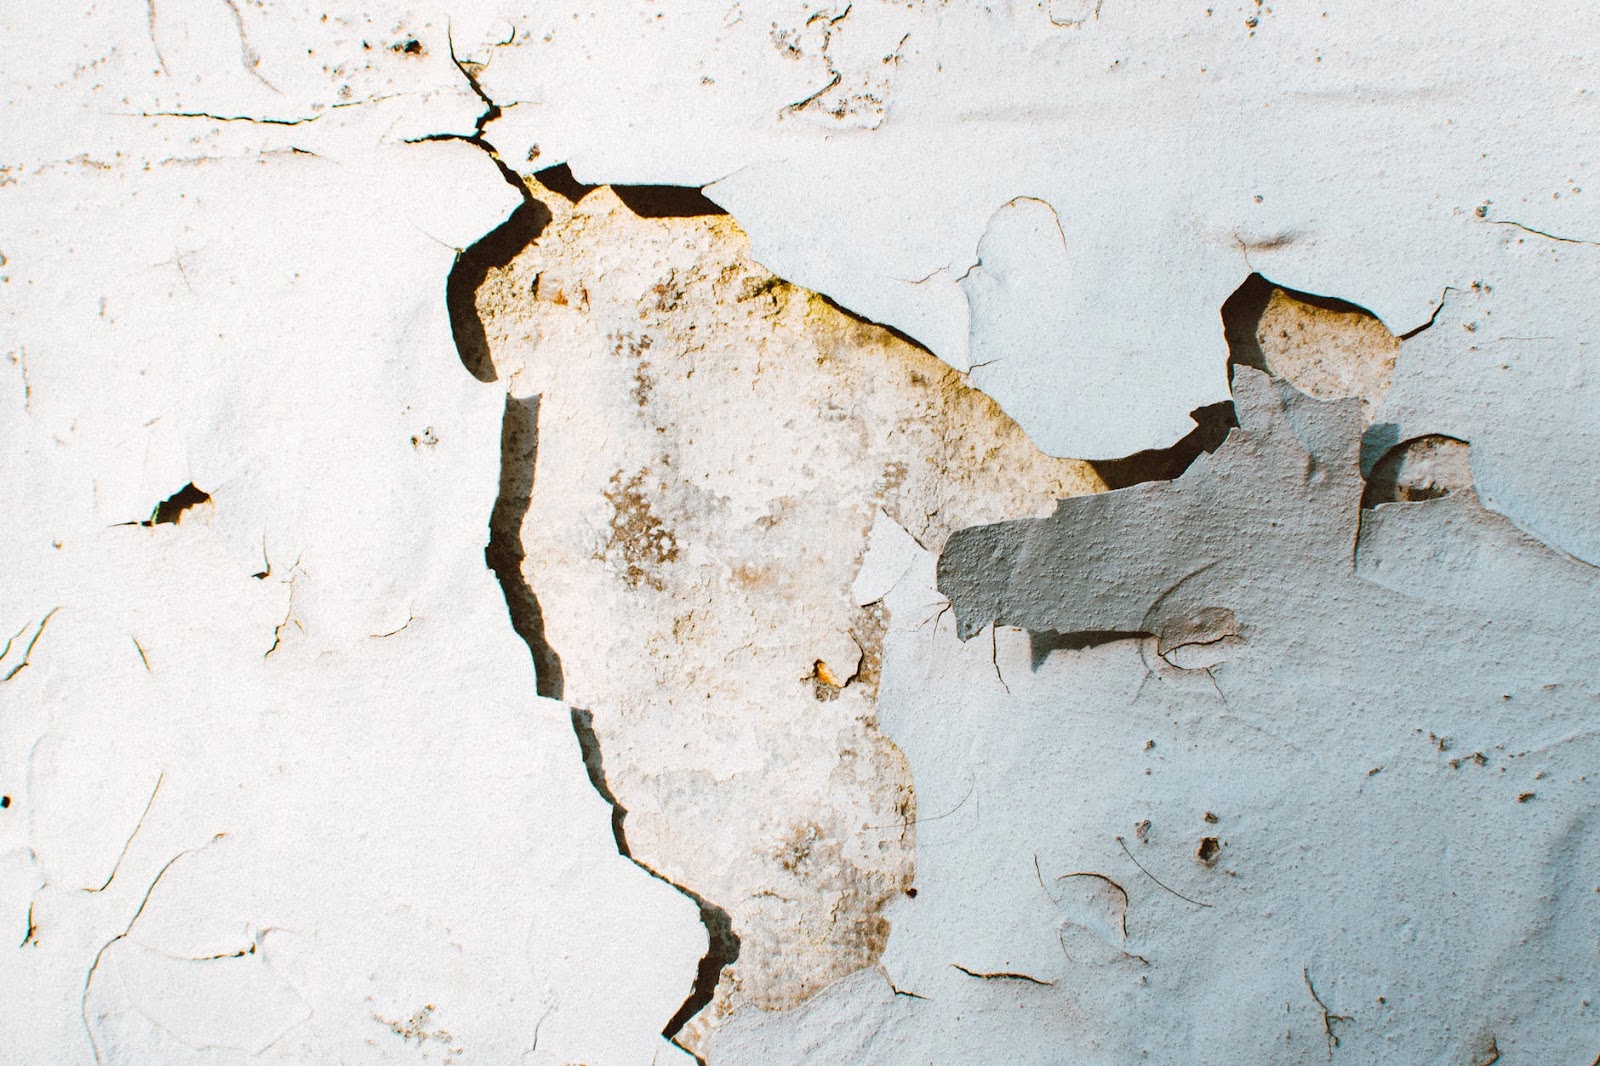
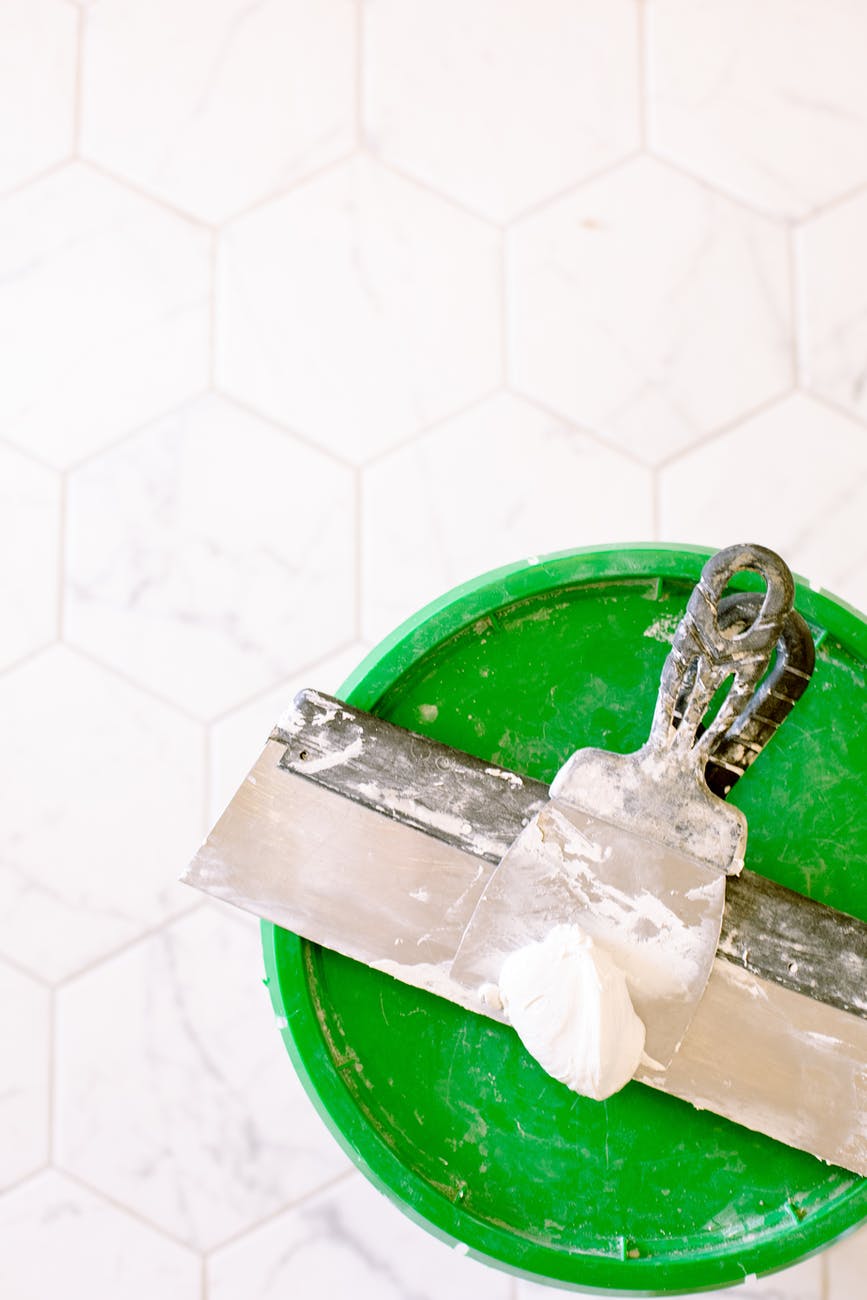
Photo by Lisa Fotios from Pexels
Step 2: Apply PVA To The Wall(s)
Being a latex-base product similar to the glue that seals the pores of the drywall, applying PVA to the walls you’re about to plaster will ensure that the layer you will use will dry out equally. First, you need to dilute the PVA in a 1:4 ratio – one part PVA and four parts water. Roll the PVA mixture onto a brush, apply it onto the wall, and check that the entire surface is covered. Once you go over the wall with the PVA glue, the first plaster layer can be applied.
Step 3: Mix The Plaster
Depending on what type of plaster you will use for the project, read the manufacturer’s manual, and mix it accordingly. Wear a dust mask as you open up the bags of the material. Pour it into a bucket of cold water and whisk briefly until it has the consistency of thick custard with no lumps. Continuously mix the plaster into the water and never the other way around.
Step 4: Apply Plaster Onto The Walls
Once you got the wall(s) cleaned, and the plaster mixture ready, you can start applying the first coat of plaster using the hawk board, the trowels, and a floating tool. Practice the application on separate plasterboard before you begin to master the technique.

Photo from Pixabay
Place the plaster on the hawk board using the trowel and use the float to push the material from the hawk onto the walls. Spread the plaster firmly upwards and flatten the float at the end of each sweep. You should always apply the plaster from the bottom left-hand corner and upwards, filling a whole section from bottom to top before moving on to the next section. Always use small amounts of plaster combined with firm pressure on the float, so you ensure a smooth look and avoid excess plaster coming off the wall. Replicate this movement until the entire surface is covered with plaster.
Step 5: Skim And Smooth
Right after the first coat of plaster is applied, wait for 20 minutes to let plaster dry. Afterward, get rid of bumps and lumps by smoothing the wall over with a trowel. Smooth out the corners with the corner trowel and the bottom and top of the wall too. These are the trickiest areas to plaster correctly, so use adequate tools to even the edges out.
Step 6: Scrape
Scraping is optional, but most experts prefer to scrape the wall before adding the second coat of plaster for the second coat to adhere properly. The simplest way to scrape the wall is by using a devilling float, a tool specifically designed for this. In case you don’t have one near you, you can also scrape the walls using an old kitchen fork. If you opt not to use this step, make sure that the first coat is still wet before applying the second one.
Step 7: Second Coat
Apply the second and final coat of plaster to the wall(s). This one should be of a thinner consistency than the first one, so dilute the plaster mixture with some more water. Plaster a thin 2 mm layer on the wall and leave the material to slightly dry.
Step 8: Finishing Touches
Once the plaster is slightly dried, polish your work. Add some water to the walls using a spray gun. Make sure to spray the edges of the plaster and use the trowel to smoothen out the surface with inward strokes. Finish it off by running a clean float over the entire wall to flatten out any curves and bumps. When the plaster is completely dried, use some sanding paper to remove any excess material. Learning this as one of your skilled trades will increase your overall workmanship.
Step 9: Painting And Wallpapering
Your wall(s) is now ready to be painted over or wallpapered if that’s what you prefer. Use undercoat to prime the surface before you apply paint. The same goes if you’re about to hang wallpaper, even though it may be best to use a wallpaper adhesive instead. Be certain to apply two coats of adhesive to prime and seal the surface.
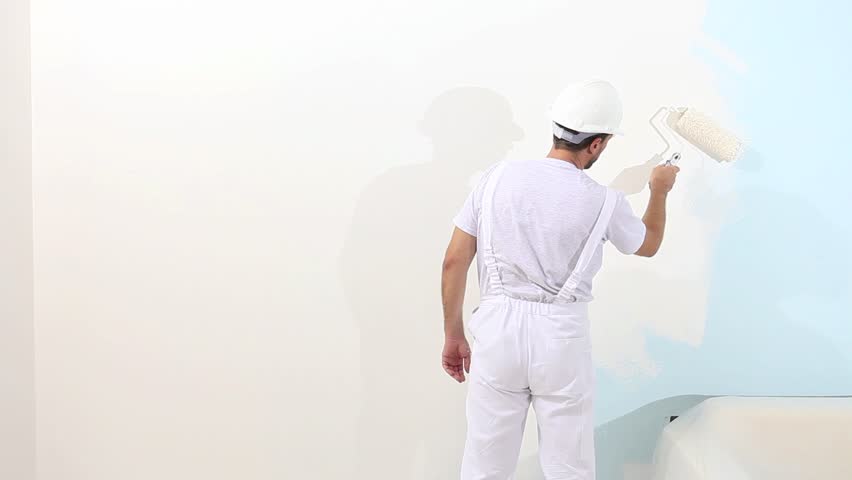
Photo from Shutterstock
Final Words
There you go! Even though plastering is a home project that most people prefer to leave to experts, follow our detailed step-by-step guide, and you’ll be plastering like a pro in no time. Seriously, you’ll take a look at your watch and realize almost no time has gone by! We hope that you enjoyed this informative article and you are ready to put it to practice. Good luck.
Building, Design & Construction Magazine | The Choice of Industry Professionals
EssayZoo.org – a huge number of essays for sale, repair and construction