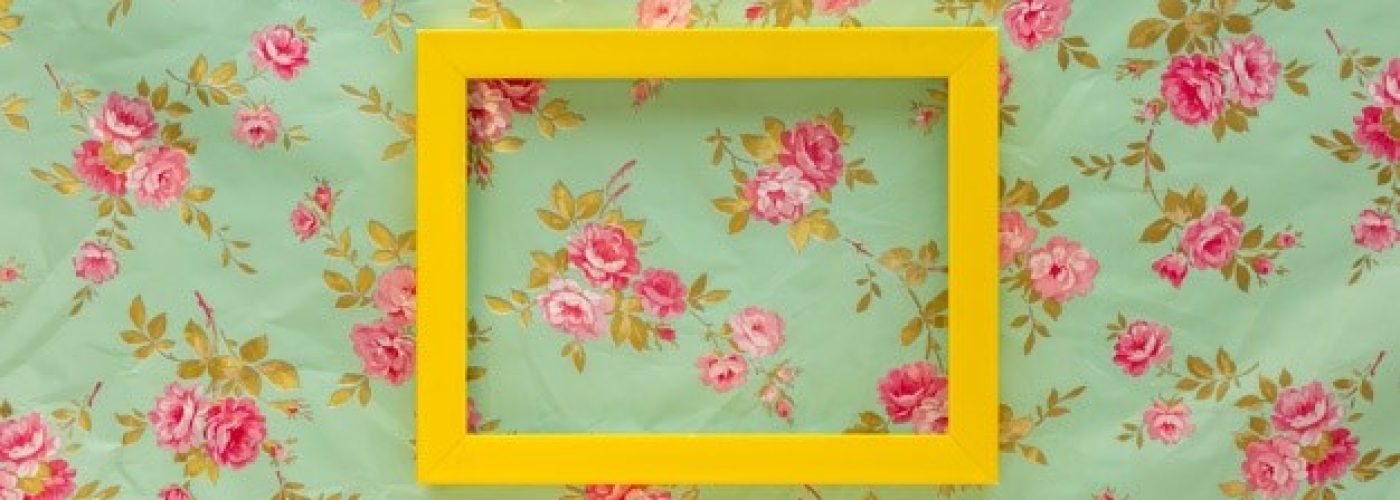
Find out how you can use picture frames to encase colorful fabric and bring your living space to life in six simple steps.
Whether you’re decorating your new home or renovating your old one, you may find out there’s a huge wall space that’s in dire need of decor. Now, while shopping, have you come across a printed fabric, rich in colors, that you want to buy? Or how about you have gorgeous fabric leftover and don’t know what to do with it? Whether leftover or new, follow these simple steps to encase that beautiful print, preserved neatly in a picture frame, and bring your living space live with vibrating colors.
Step 1: Purchase and Iron the Fabric
The first step is to purchase that stunning fabric or bring out the leftover ones. The secret to having a picturesque view is to make sure the fabric is not wrinkled. Iron it well before encasing it on the picture frame.
If you are purchasing a piece of fabric, make sure it’ll accentuate the interior designs of your living space. A specific color or pattern that complements your rug or couch pillows will give an appealing look to your overall space. Likewise, the wall color will become too prominent, creating a distraction. You can hire professional painters if you’re renovating and choose a color that will enhance the beauty of your fabric wall art.
Step 2: Measure Your Wall Space
You do not want a picture frame that is small compared to the size of the wall unless you want to mount multiple fabric pieces of art on your wall. You also do not want a frame that is too big and takes up a lot of space. Therefore, it is wise to measure the area, leaving a little space on every side, to make it look more breathable, elegant, and classy.
When measuring your wall space, check the surrounding elements and furniture in the room, including shelves, mirrors, and lighting fixtures. Doing so ensures the fabric wall art and picture frame harmonizes with the existing elements, creating a cohesive and visually pleasing arrangement.
Additionally, leaving space around the fabric art on every side allows the artwork to breathe and interact with the surrounding area. This negative space acts as a visual buffer, preventing the piece from feeling cramped or crowded against the wall. It also adds a sense of balance and openness to the composition, contributing to your living space’s overall elegant and classy atmosphere.
Step 3: Purchase Your Desired Frame
Picture frames come in all sizes and shapes. There are mirror frames that can also work for your project. The only difference is the frames contain mirrors instead of pictures.
These frames also come in different colors. So depending on the interior of your living space, you can choose a variety of designs and colors for the frame. If you want a modern feel, you can choose black or white frames. Black frames offer a more regal, formal look, whereas white ones are more casual.
The design and color of your picture frame also depend on the printed fabric. Select your fabric and frame in a way that corresponds to each other. For a heavily designed fabric, you can opt for a simple frame. Likewise, for a simply designed fabric, you can look for expensive or vintage frames. Just remember, your fabric wall art should accentuate the beauty of the fabric, the frame, and your home.
Step 4: Measure and Cut Fabric
This is a crucial step! Measure the fabric with a fabric marker and cut it according to the size of the picture frame. How to use fabric markers? Simple! It’s like any other marker but with more precision when it comes to textiles. All you need to do is lay the fabric on flat cardboard or any hard, flat surface and place the back cover of the frame on it. Then, like using a scale, trace and draw straight lines to measure the exact sides. And voila! You can now easily trim the fabric to the perfect size.
You can also add your designs to the fabric such as writing your name or a positivity quote you want to wake up to every day!
Step 5: Stick ‘em
If you’re using a hot glue gun, position the fabric accurately on the back cover of the frame, the wrong side facing up. Make sure the portion of the fabric you want to be featured is in place before sticking. If you find this difficult, you can leave a few inches of the fabric and then glue them the same way you’d wrap a gift. Fold the corners first, glue them and then deal with the sides later. You can trim out extra fabric once you have them neatly folded on the back cover.
You can also use a light spray adhesive or double-faced tapes if you do not want the fabric to slide around.
Step 6: Assemble
Now it’s time to put everything together. After ensuring your fabric is strongly glued in place, clean the glass that comes with the frame and put it back on. Then, position the fabric back cover on the frame and close the tabs to secure it in place. You can leave the glass out for a more regal look however, with the glass, it’ll be easier to clean.
Now mount your art project on the wall and see the difference it makes to your overall living space.
Some Tips
- If you’re renovating your home, and you want to mount the fabric wall art, make sure you have a plastered wall. It gives your wall a strong and smooth finish which accentuates your wall art project.
- When ironing, you can spray starch on the back of the fabric to make it stiff to make it easier for you to glue them.
- If your frame is a mirror, expect unpleasant adhesives when you pull it apart. Clean them thoroughly to avoid irrelevant stickiness when you position the fabric.
- If you want fabric wall art that can be changed with another fabric you like, you can use staple guns to secure it in place. That way, all you have to do is remove the staples and switch fabrics whenever you want.
So if you’re looking for an easy and inexpensive DIY project, you can try this framing fabric wall art and show it off to your friends and family. It is a quick and creative way to decorate your living space using minimum materials. And when you’re finished, mount it on your wall and stand back to admire a job well done!
Takeaways
Framing fabric wall art is a beautiful way to add color, vibrancy, and personal expression to your living space. With these steps, you can transform printed fabrics or leftover materials into stunning pieces of wall decor that accentuate the beauty of your fabric, frame, and home.
Let your fabric wall art serve as a conversation starter, a focal point, and a source of inspiration for all who enter your room. Look up online magazines to start putting ideas together, then prepare the materials. After that, give it a go!


