Laminate flooring has quickly gained a reputation as the go to flooring option for contractors and home renovators. This is thanks to its flexibility, affordable pricing, durability.
Another factor that makes wood laminate such a popular way to revamp your floor is how simple it is to install in your home.
Want to find out how, check out our how to guide below.
Preparation is key
Before you even begin installing your brand-new laminate floor, you must make preparations beforehand for best results.
First, once your brand-new oak laminate floor arrives, it should be left in the installation site for a minimum of 48 hours. This will allow your floor to acclimatise to the temperature of your room. This reducing the chances of swelling or contracting, which can cause an uneven surface and in a worse case damage your new floor beyond repair.
After this 48-hour acclimatisation period the next step is to prepare the sub floor for instillation. We recommend laminate should be laid over either wood and concrete sub floors for best results and a hassle-free installation. As an extra precaution take care to ensure that your sub floor is level (especially with concrete sub floors), along with removing any nails and adhesive and debris before full installation.
Once these preparations are complete you may begin placing down the underlay. For those with a concrete sub floor, we also recommend installing a damp proof membrane which will reduce the risk of moisture rising and causing buckling and ruining your new floor.
Installing Your Laminate Floor
Once these preparations have been made, it is time to begin installing your brand-new floor.
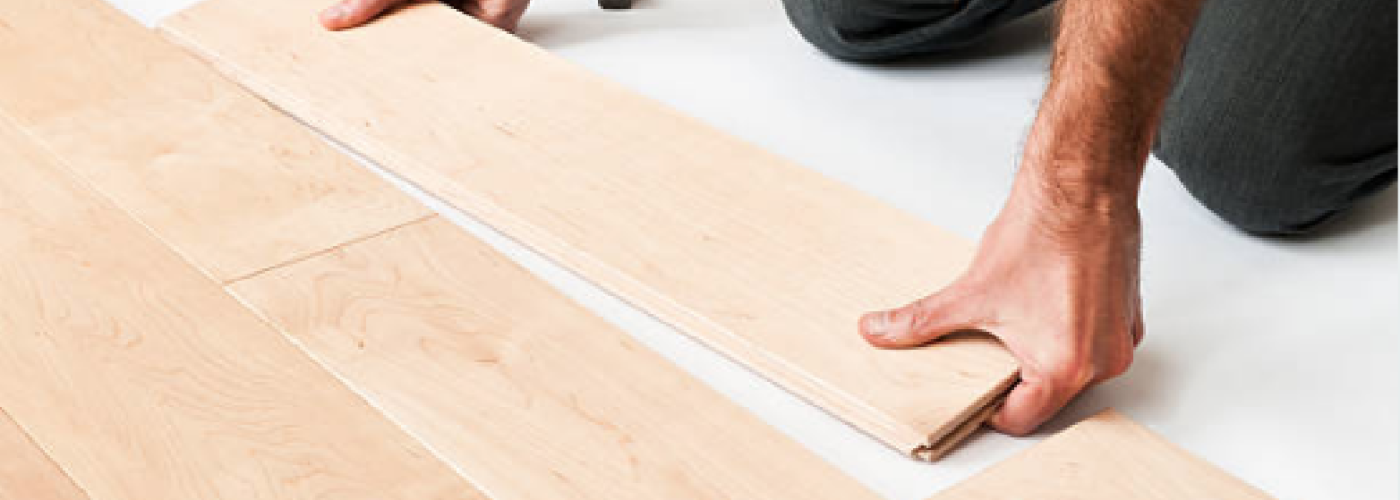
Laminate flooring has an easy to install click, join system for easy installation as seen below. This is a common feature within laminate flooring, that offers you the added flexibility of either gluing your floor down or having a floating floor.
Now onto the instillation itself, to begin you need to measure the width of the final row, which can be done by dividing the total width of the room by that of an individual board.
From here you lay the first plank down, with the groove side facing the wall. Here you must take extra care that the plank is perfectly straight as it will set the direction of the rest of your floor. From here place a spacer between the first row and the wall, this should be around 10mm to account for expansion room between the floor edge and the sidewall.
From here you can continue to lay each individual plank using the snap click system for easy instillation, applying glue if needed and cutting each piece to fit your room layout accordingly.
Once you reach the final row it is recommended that you use either a hammer or pull bar to install this piece. This is because the final plank is usually quite a tight fit compared to the previous boards, therefore the aforenoted tools will make this process easier.
With the final piece installed clear away any tools and debris and your new laminate floor can be considered fully installed and ready for use.


