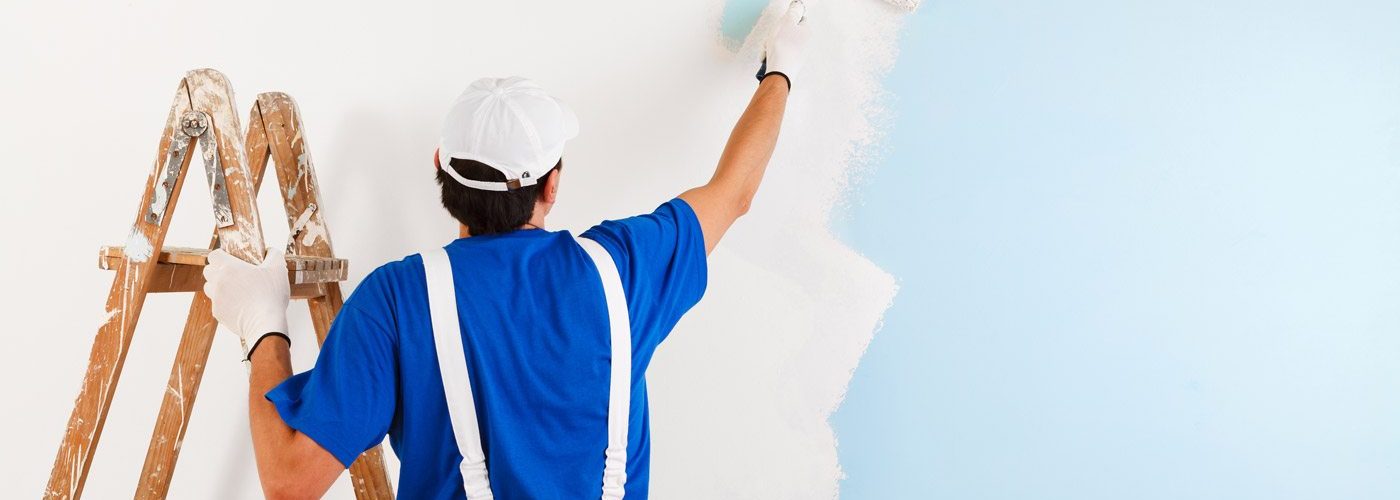
While many Brits enjoy a bit of DIY at the weekend, and painting is a popular choice for easy home renovation projections, it doesn’t mean that you can improvise becoming a pro painter-decorator overnight. If you ever feel tempted to tackle your next painting project yourself, make sure you avoid these common mistakes, so you never end up wasting time and money.
No prep before painting
Preparing the area you’re going to paint isn’t the most exciting part of the process, but it’s an essential step if you want to see the best results. Too many people just skip ahead and start painting without preparing the surface or the area they will paint.
Needless to say that if you have wallpaper or old paint, you’ll need to strip the wall to ensure you have a smooth surface to paint on. If your wall has a lot of asperities (it’s a fancy word for roughness), you may need to do some plasterwork or some light sanding so that the texture doesn’t come through.
Ensure the walls are also clean to avoid painting over dust particles or anything else that can get stuck over time. You can do so by vacuuming the walls to remove all dust and washing the area with warm water and vinegar for a deep clean. Don’t skip corners and baseboards!
Finally, make sure that anything that doesn’t need painting will be protected. That includes the floors and nearby furniture. It would help if you also were wrapping doorknobs and use painter’s tape along the edges of your surface (the baseboards, for example). Taking the time to set up protection will ensure you have a clean finish, and you won’t stain precious furniture or other areas.
Using the wrong paint
This might seem like a no-brainer, but you would be surprised to see how many people buy paint before realising they didn’t choose the right one. Not all types of surfaces react to paint in the same way, so you will need different products depending on whether you are painting metal, wood, tiles, concrete, plaster etc.
Make sure to double-check that the paint you are selecting will be appropriate for your surface area. In doubt, many specialist retailers like The Paint Shed are happy to provide guidance and help you choose the right products for your project.
Once you have the right type of paint, don’t forget to check what finish you’re buying as well. It may seem like there wouldn’t be much of a difference between a gloss and semi-gloss finish, but anyone who has ever painted a whole room in gloss will tell you otherwise.
Using the wrong tools
If the tools don’t make the craftsman, having the right tools for the job will certainly help you achieve the results you want. If you are painting walls or large surfaces, swap the paintbrush for a roller which will avoid creating lines or streaks (which is caused by the brush bristles).
Not all paint rollers are created equal, though, and you will have to select the right one depending on the type of surface. Generally speaking, thicker roller covers (also called nap or pile) are more suited to rougher surfaces as they can apply thicker layers of paint. Thinner roller covers will be better suited for smoother surfaces that require a more delicate finish.
Make sure you’re not over saturating the roller when painting. Applying too much paint in one go can lead to uneven application and drips. The nap should be saturated with paint but not dripping. You can use a paint tray to ensure the paint is spread evenly on the roller and remove excess before applying it to your surface.
Using trays is also highly recommended rather than dipping your tools straight into the paint can, leading to contaminating the paint with dirt or dust.
Ignoring the weather
Exterior projects are particularly concerned with the weather, but it could also apply to some inside work. If the weather is too humid and cold, it will affect the time needed for water-based paints to dry.
If the weather is not going to be in your favour, consider delaying your project until it is warmer or drier. The wind is also something to think about. If you are painting outside, strong winds could ruin your work or just make it extra difficult for you.
Now that you’re armed with these tips, I hope you feel ready to tackle your next painting project! If you enjoyed this, you’ll find more articles like this in the painting and decorating section of our website.


